
How do I create and edit an Administrator and their settings?
1. Access Account Settings:
Start by logging into your Bookteq account.
In the navigation menu, locate and click on "Account Settings."
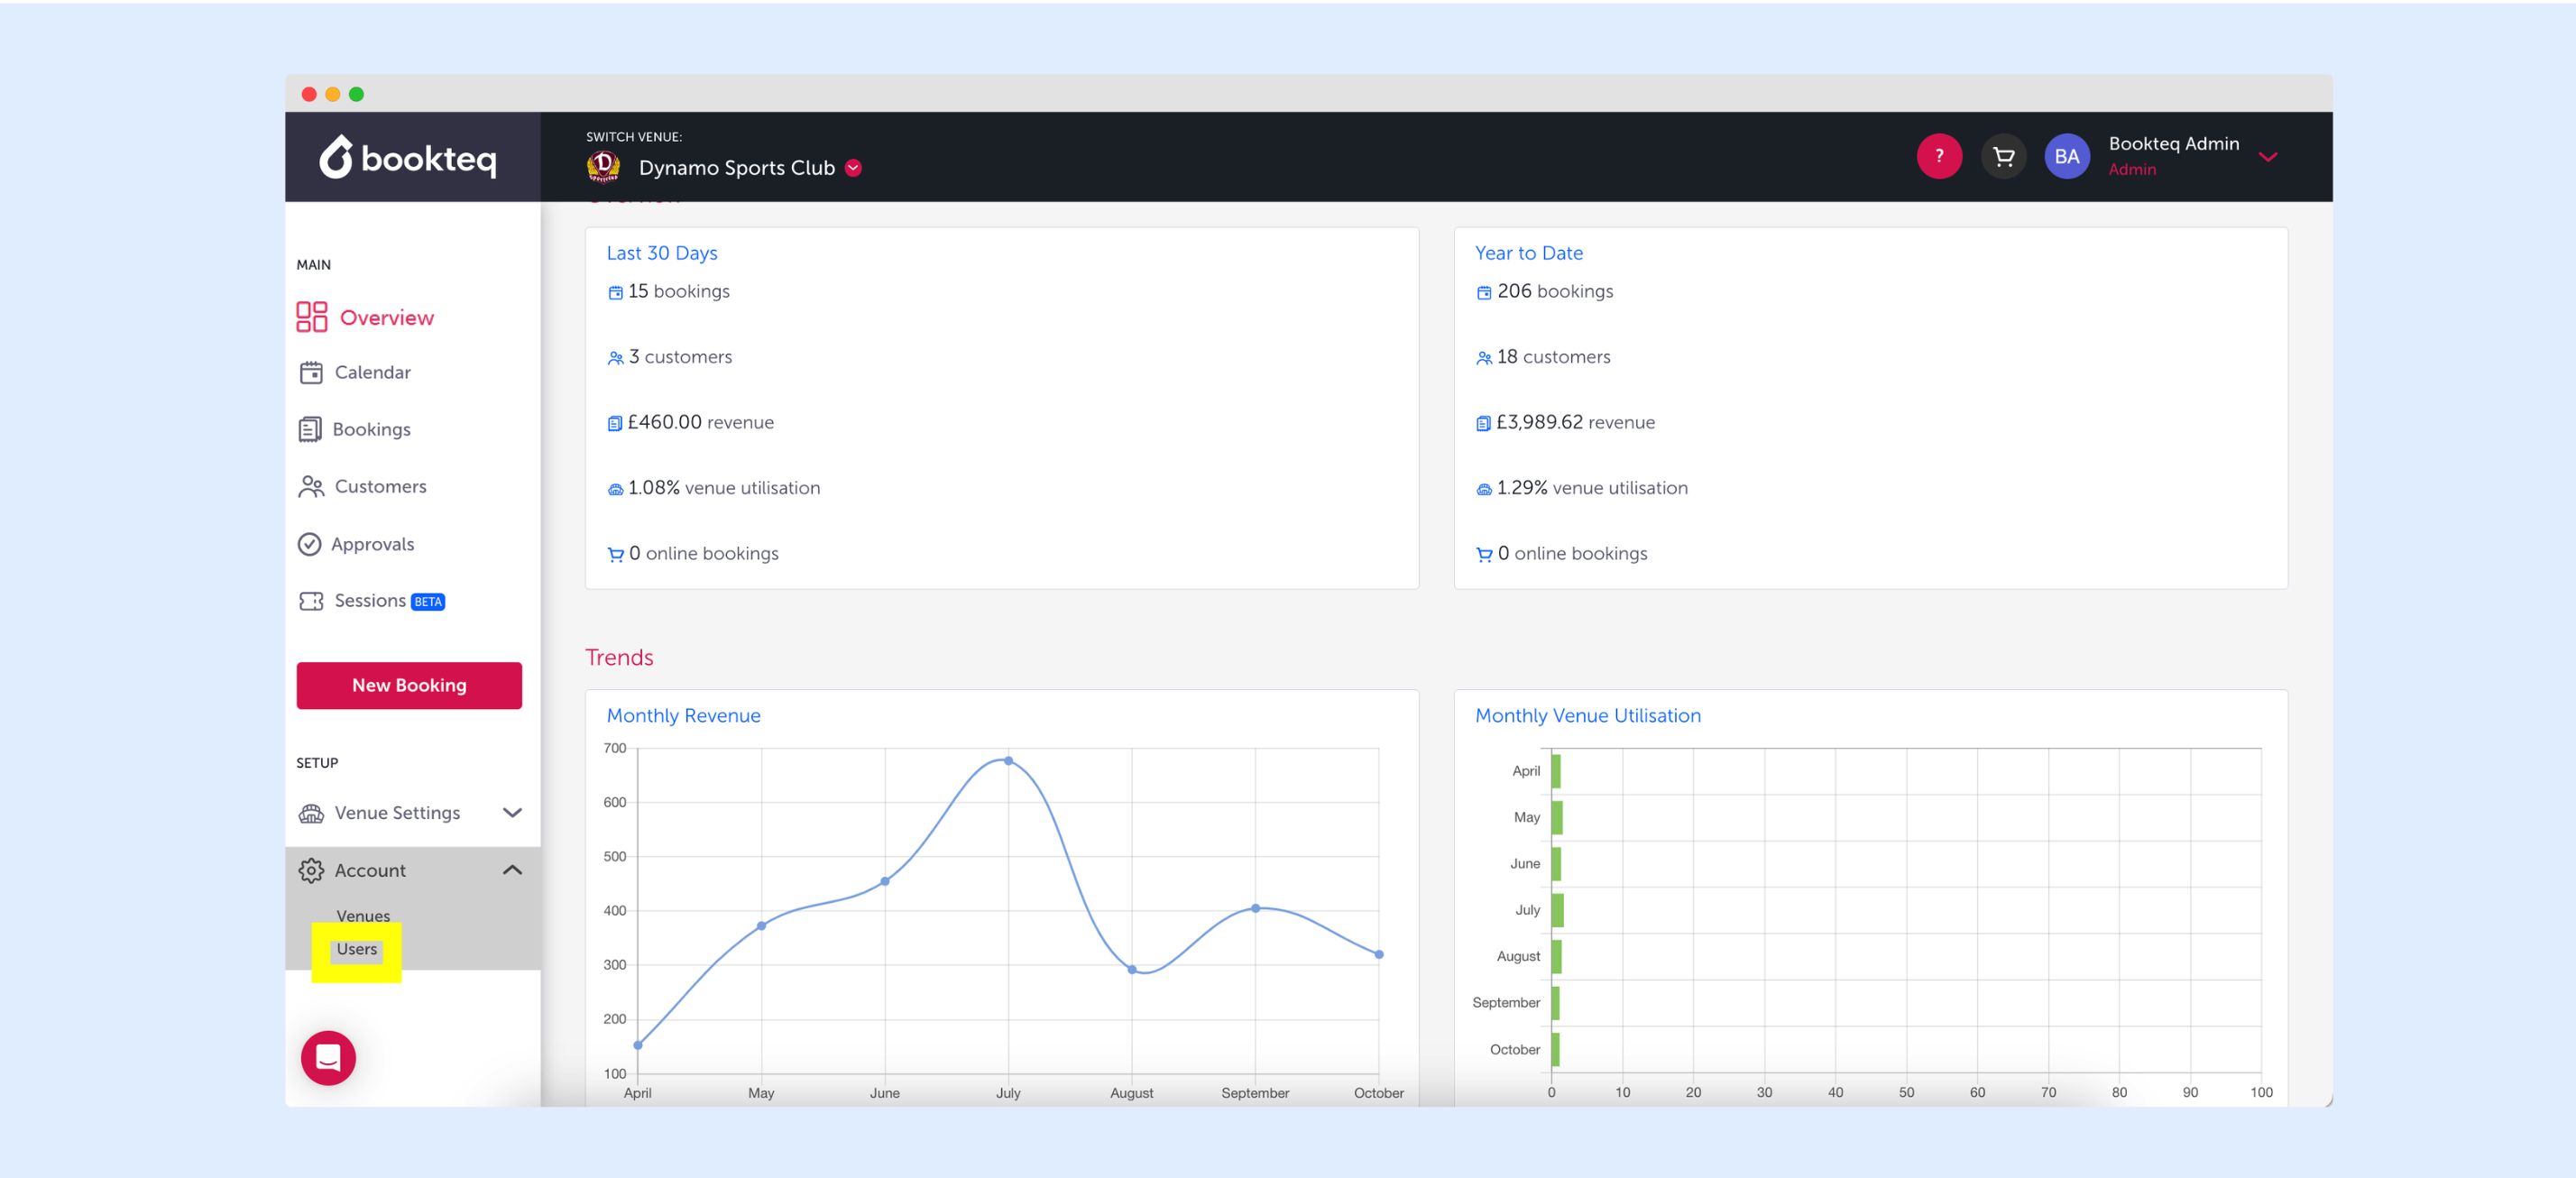
2. Navigate to Administrators:
Within the Account Settings section, find and click on "Administrators." This will take you to a full list of the administrators associated with your venue.
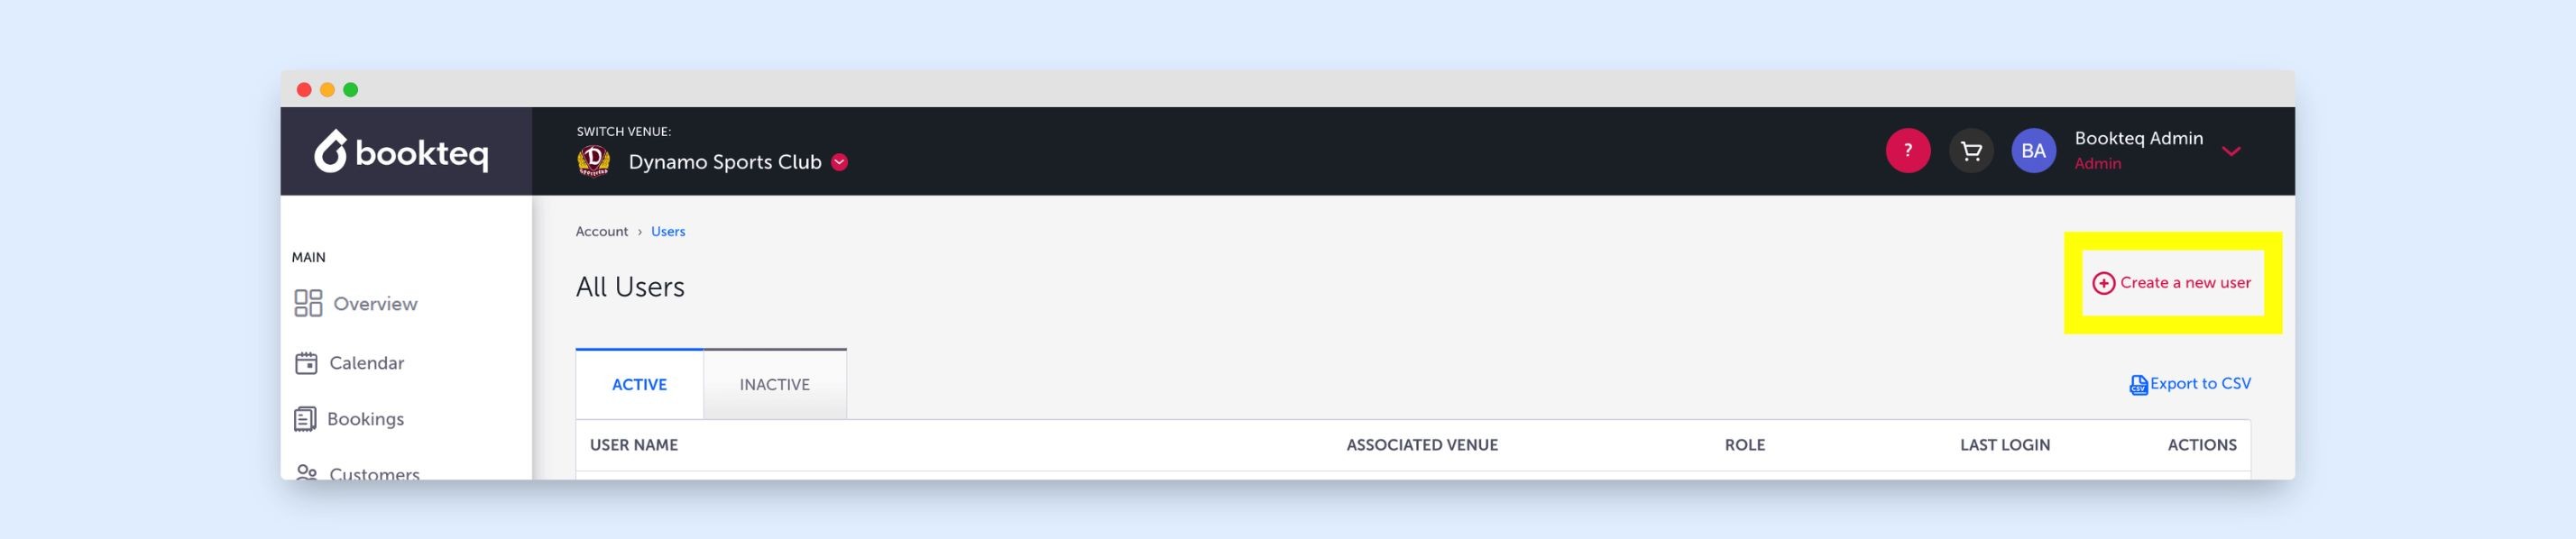
3. Create a New Administrator:
In the top right-hand corner, you'll see the option to "Create New Administrator." Click on it to proceed.
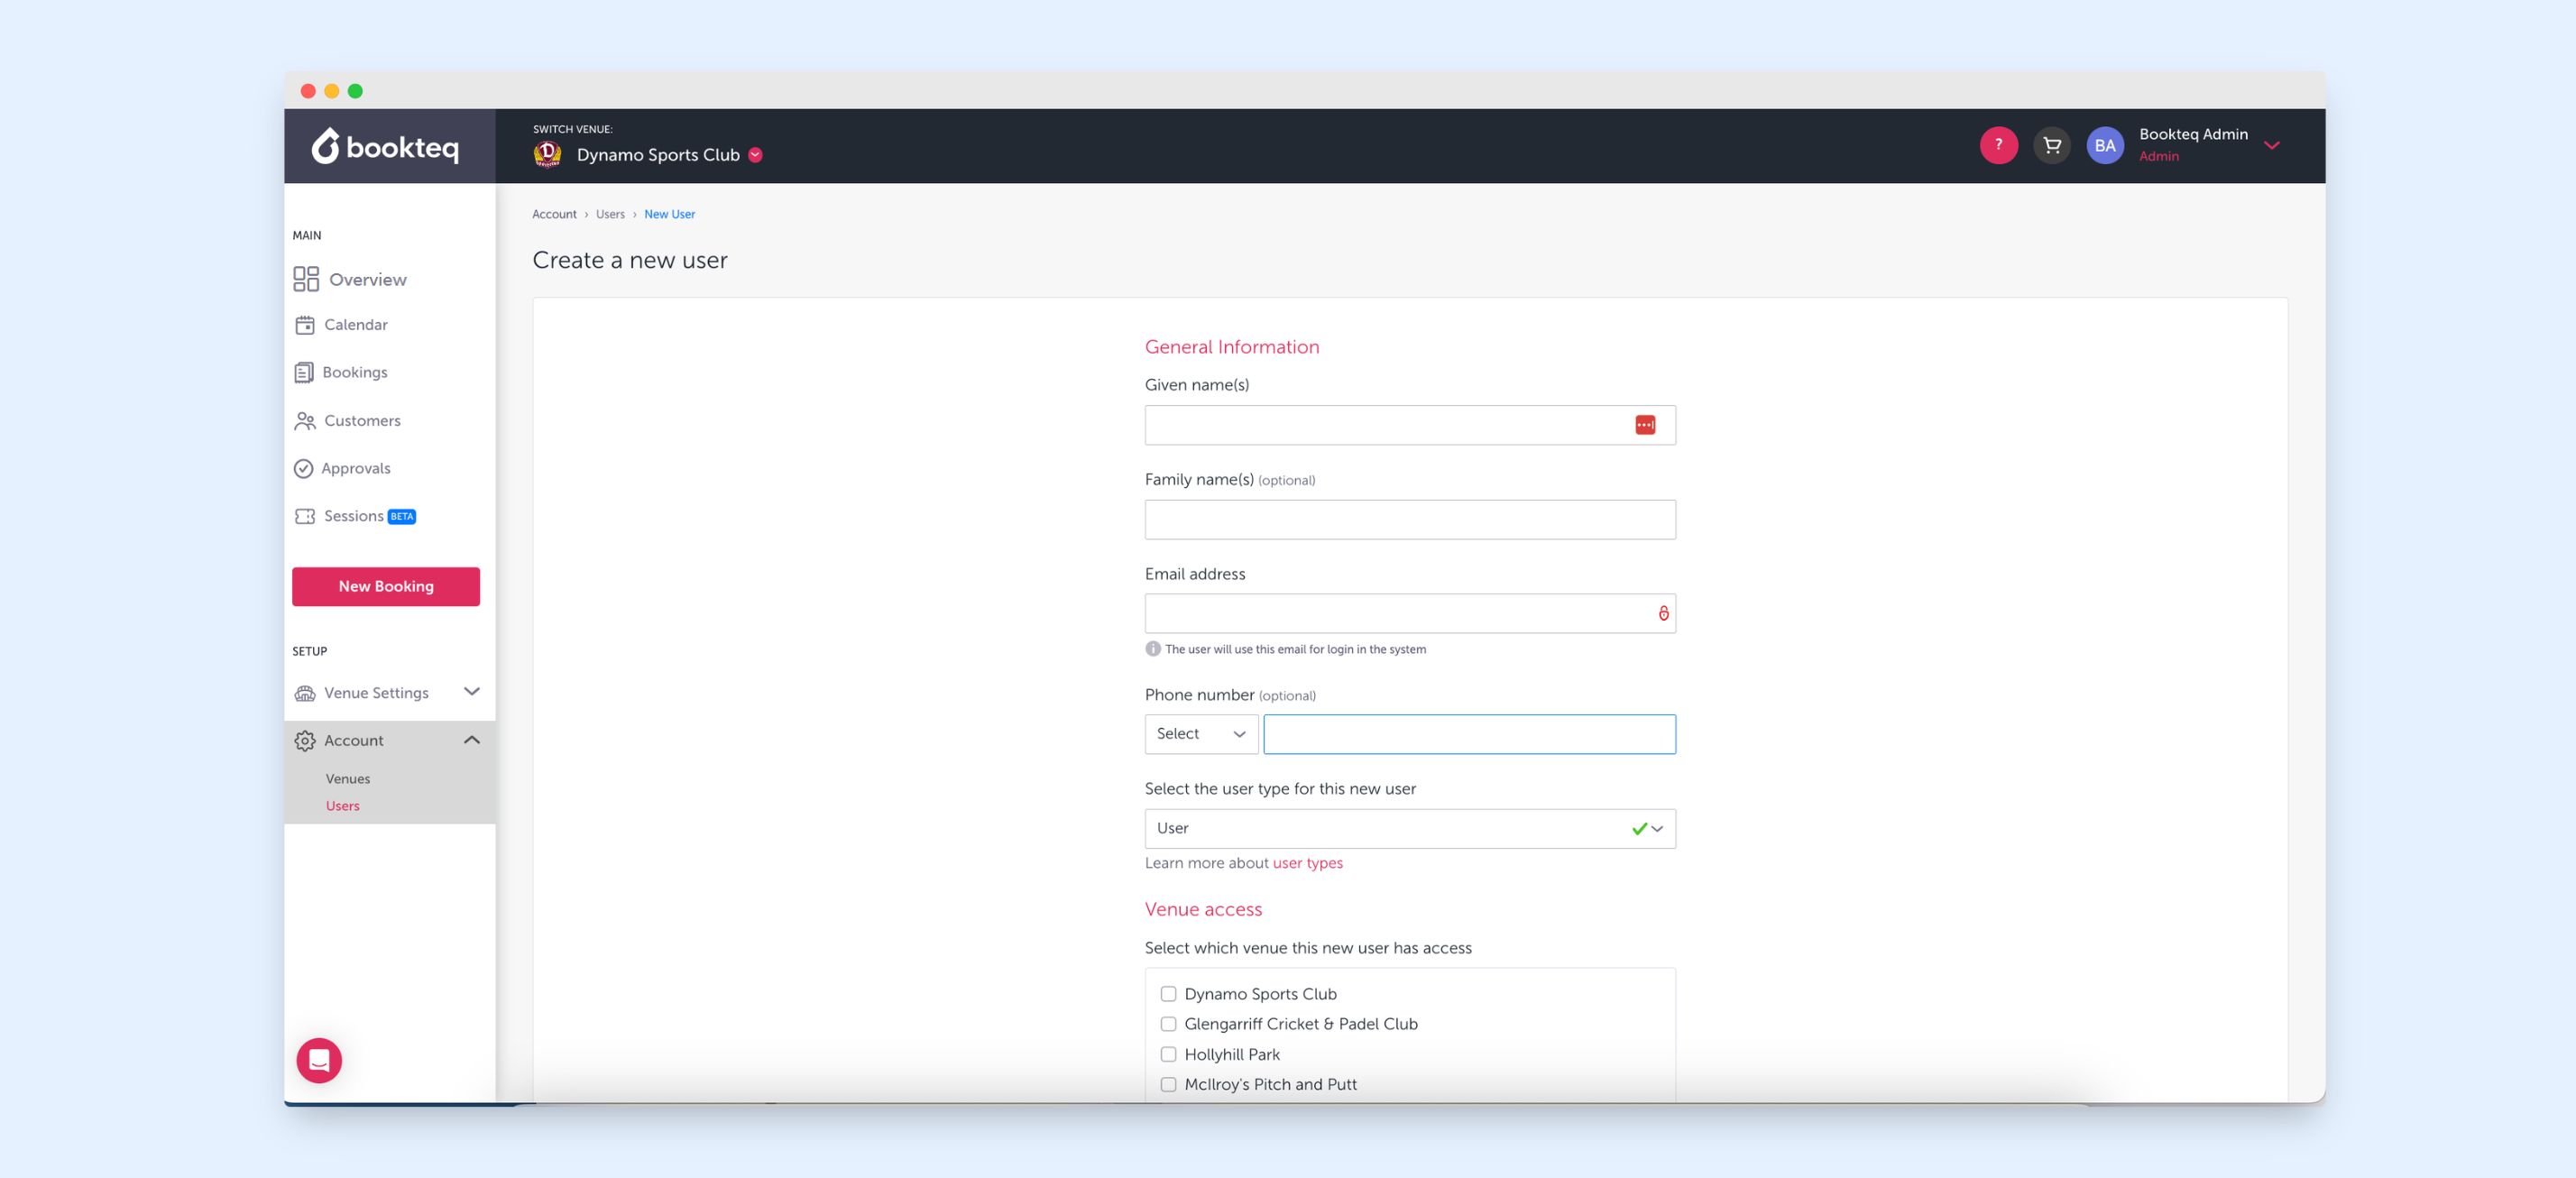
4. Administrator Information:
You will now be presented with an administrator information form. Fill out the required details, including:
- Name
- Phone Number:
- Adminstrator Type: Select the appropriate access level for the new administrator (e.g., owner, user or read only).
- Venue Access: Select which venue this new administrator has access.
- Email Notifications: Select which email notifications this administrator will receive.
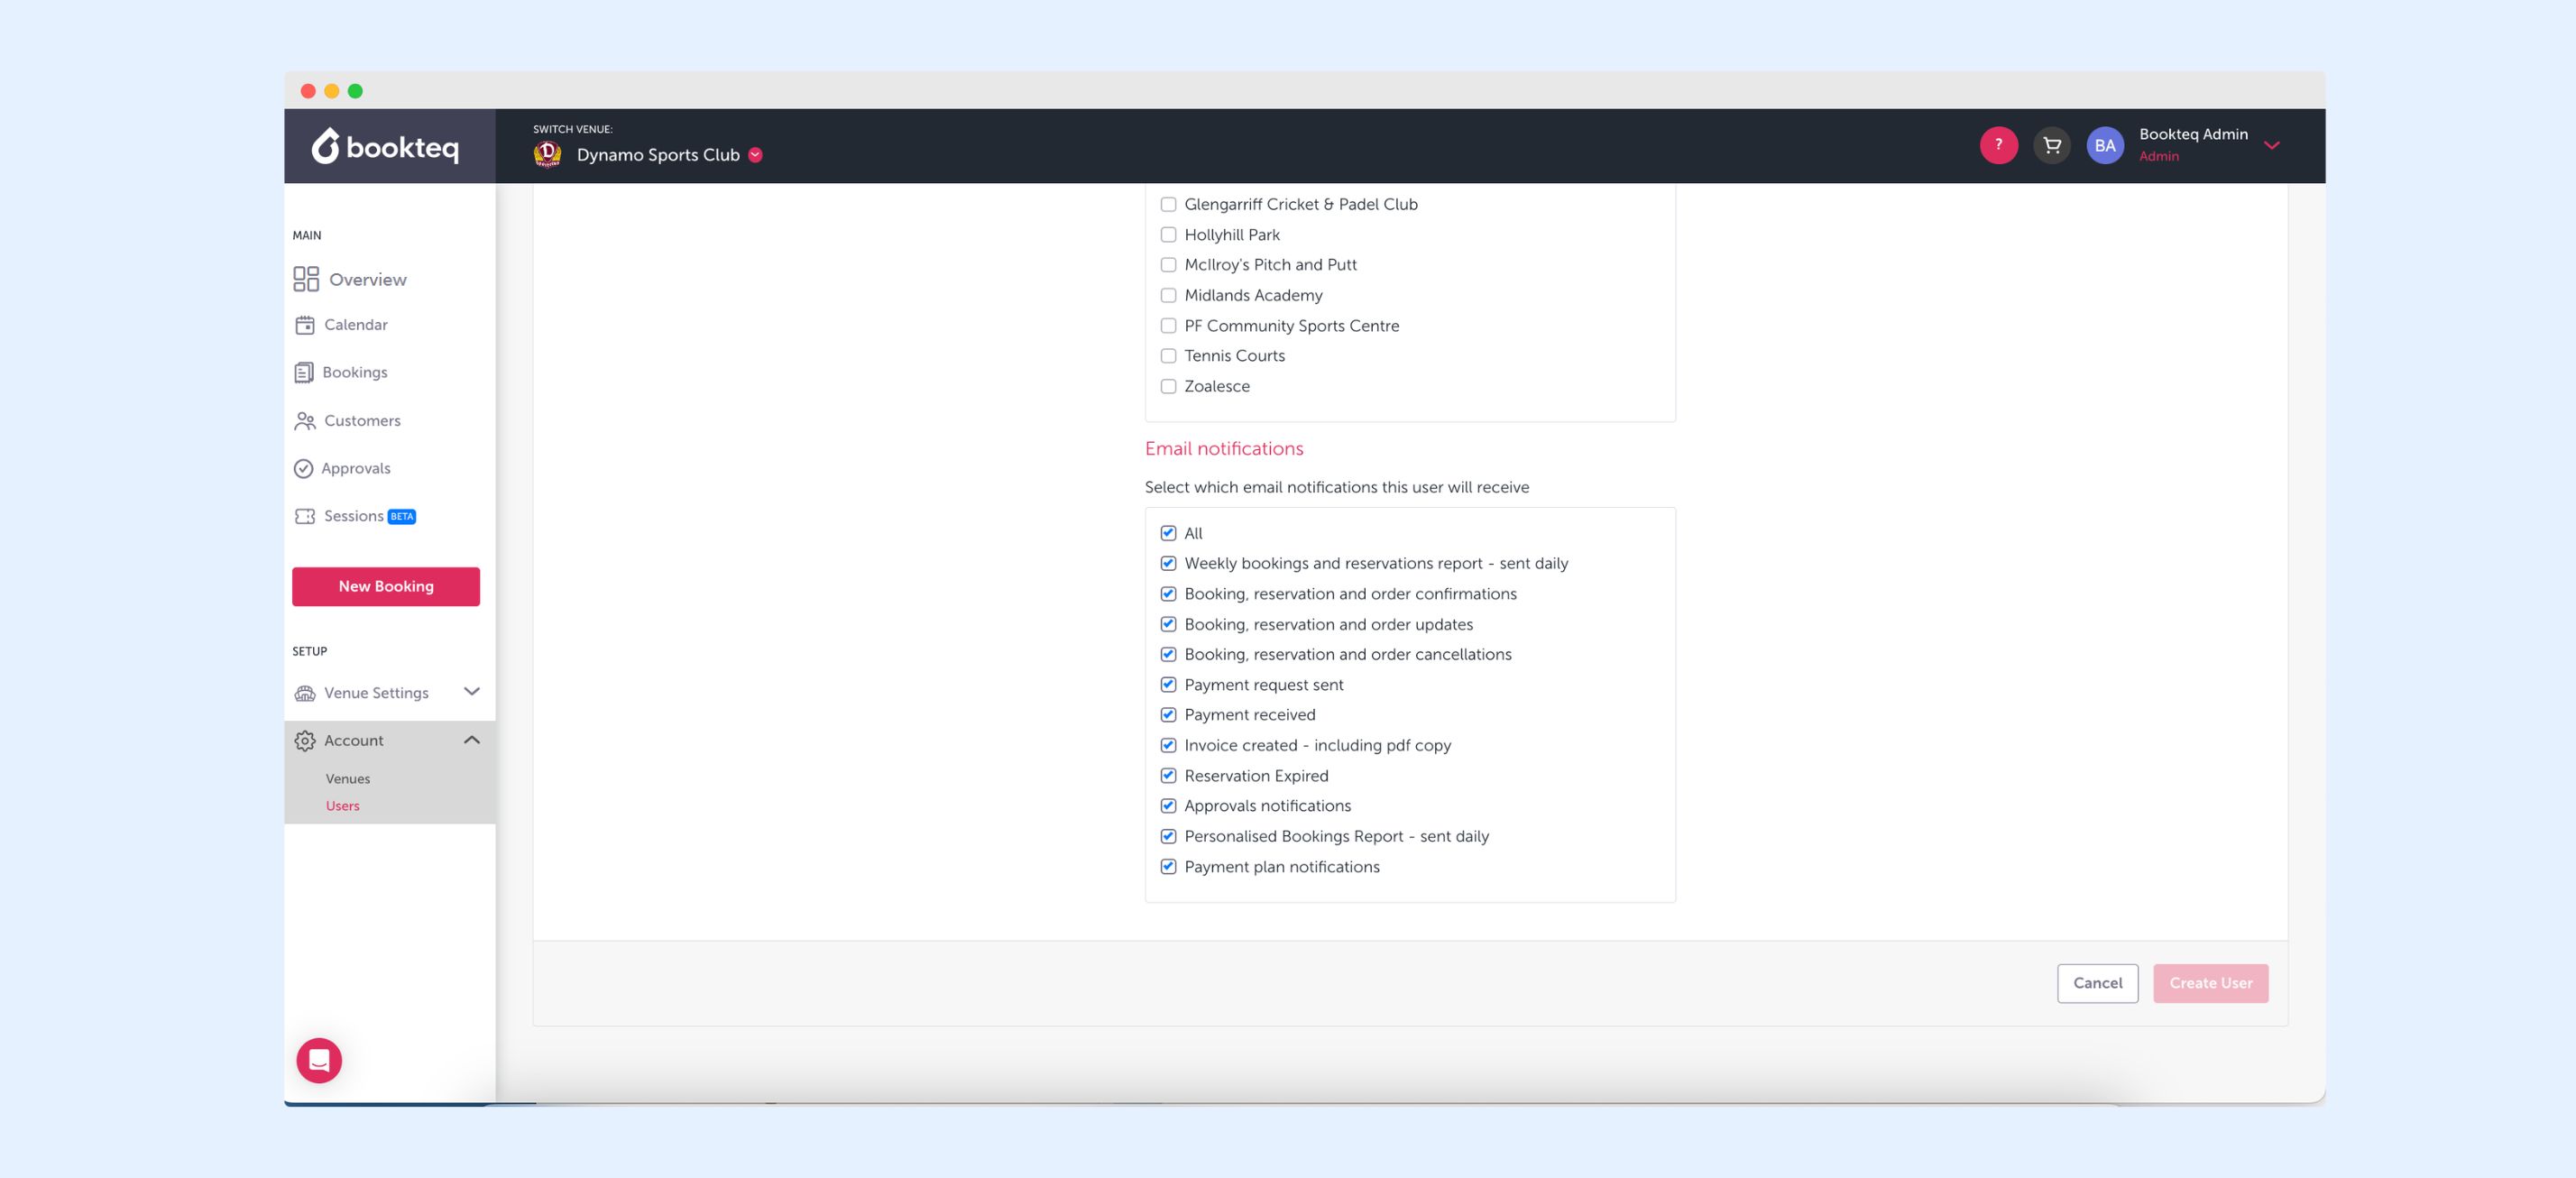
5. Save Changes:
- After completing the administrator information form, don't forget to click the "Save Changes" button to confirm the setup.
Your new administrator is now successfully added to your Bookteq account with the specified access level and permissions.
Bookteq training and support
Please contact our Bookteq Support team by emailing support@bookteq.com, or using our live chat if you need assistance.